
To activate and start using Defender for Endpoint, you need one of the following license types:
- Defender for Endpoint Plan 1
- Defender for Endpoint Plan 2
- Defender for Business
In my example, I have used Defender for Business. The activation process is the same for all license types.
1. Go to Intune (intune.microsoft.com)
2. Select Endpoint Security > Setup > Microsoft Defender for Endpoint.
3. Set Endpoint Security Profile Settings to ON.

4. Go to Defender XDR (security.microsoft.com)
5. If you haven’t activated the portal (e.g., you’ve just purchased licenses), you will need to do so. I went to Endpoints > Configuration management > Device configuration to have the portal automatically activated. This step takes a while, and you will see the following in the portal:

This step takes time. Once the preparations are complete, you will be presented with the following information:
Enabling Defender for Business in a new tenant may have drawbacks. There are reports indicating that certain functionality is limited in the portal when you activate Defender for Business and later want/need to switch to an E3 or E5 license. Therefore, I recommend that you carefully review the differences and what suits your organization.
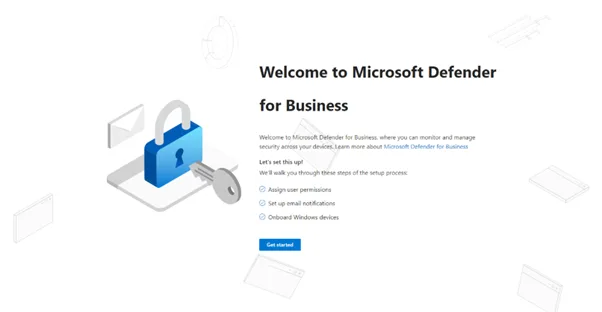
6. Click Get started.
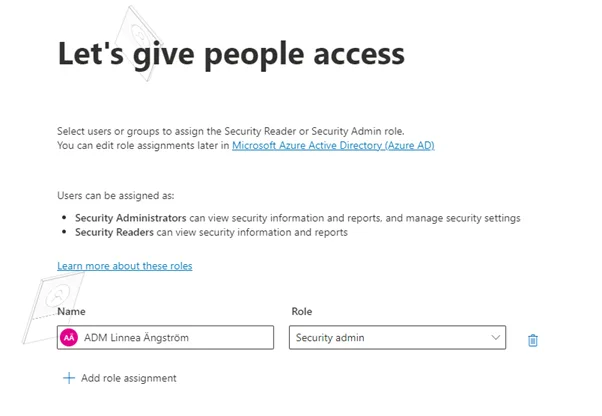
7. Select account/role.
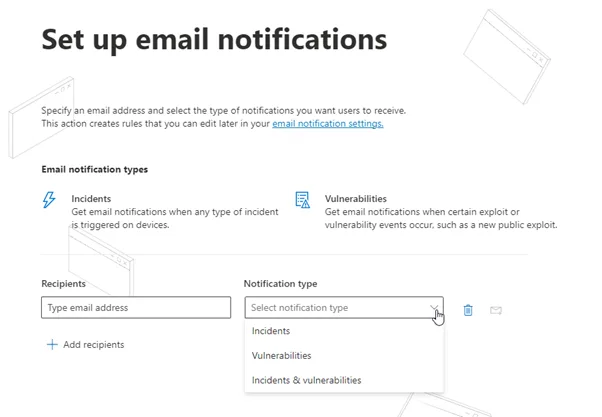
8. Choose which account will receive notifications about incidents and/or vulnerabilities. This can later be adjusted in the email settings. (You can do this under security.microsoft.com > Settings > Endpoint > General > Email notifications).
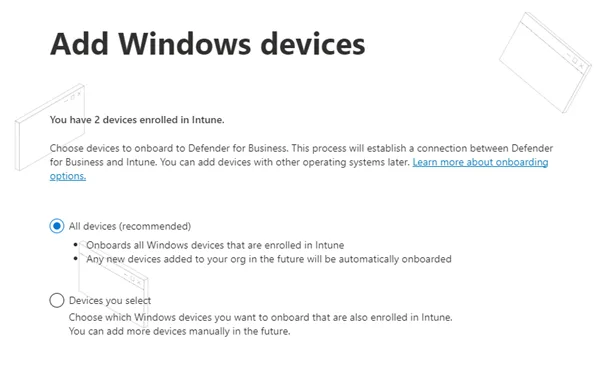
9. In the next step, choose which devices will automatically connect to Defender for Business/Defender for Endpoint. In my example, I will select all devices.
10. Review your details. Once everything looks correct, click Submit.

11. DONE!
For further steps – create policies in Intune to enable and adjust endpoint protection.